every="" minutes="" my heart="" beats="" faster="" than="" previous=""as we are going to details this "" exotic="" car=""

as early as this we reached our clients place
A a glance on this ride, it look prefect & good but at a closer inspections under the sun, the paint had very severe defects & swirls

here is some of it ,
but under sunlight

swirls from washing

scratches all over the car

more


very deep cuts (RIDS)
even some Clear coat chipped off

ouch

would you allow Ferrari to be abuse like this :-(

What we did,
Cleaning thoroughly, Megs APC 10:1 mixtures many kinds of brushes.. removing alots of waxed residue left by the previous detailers
A multiples of combination products & pads tried on, carefully consider & we decided to give it a good corrections :-
M80 with CCs cutting - nope,
M205 - with ccs cutting - nope,
M 105 -with ccs cutting - slightly better
M 105 LC double sided - good but only corrected with multiplier passes...
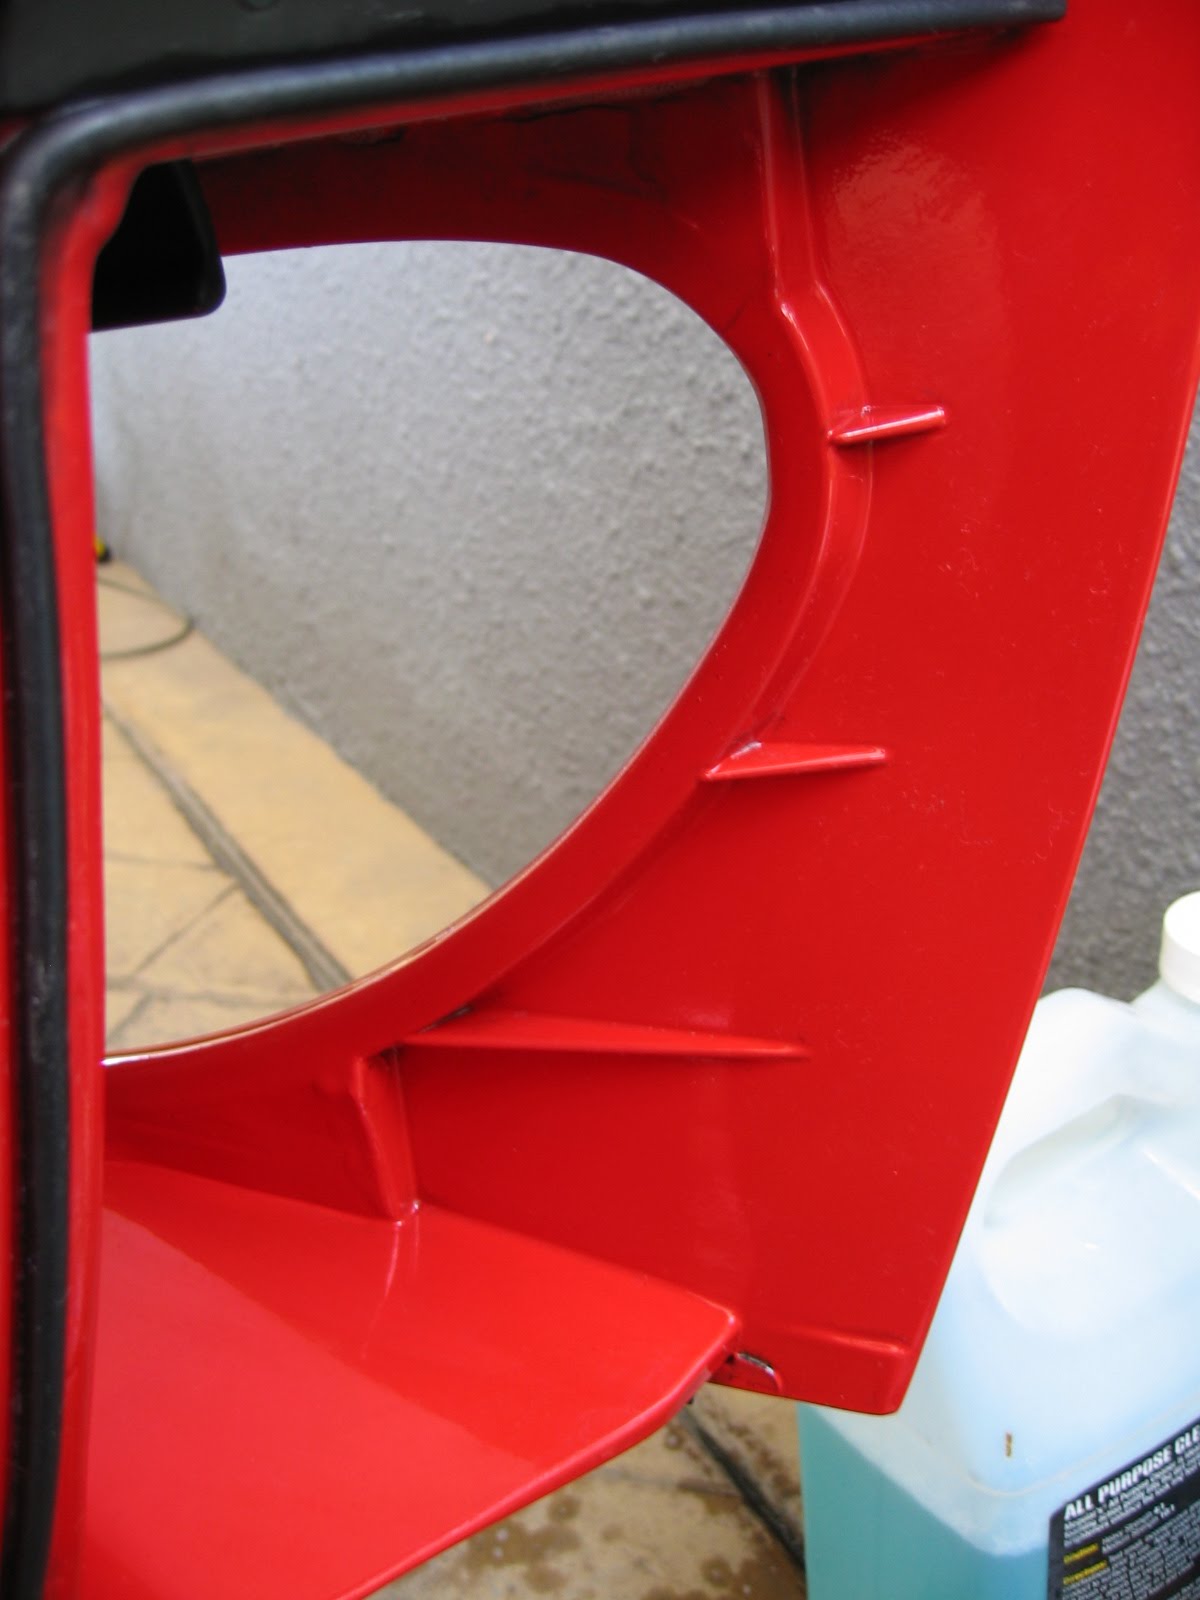
as this superlative cars has many component made off, steel, plastic, aluminum *& fibers

the average speed of the drive would be at 250km/Perhour...stone chips

I posted this tool box detailing in another post
the prancing Horse
Some of the wax residue left behind


also gave this horse a good bath

stubborn stains


i love bathing this horse
Wax residue left behind


Before After


interior details - apc at work
before


More horses details


beneath this cover, Ferrari fuel cap

looking nice, RM 8k perpiece...closer inspection lots of stains

spending 2 hours on the wheels, check out my previous posting...brake dust caked...

Before

after

Claying to pick up paint above contamination

after clay


Getting all ready to start correction work, tape off to prevent splattering of compound or polish into interior

As each correction was done carefully, in order not to create more damage to the existing...too much heat with bouch up & kabom in trouble....on the crazy curvy aluminum hood


mama-mia 380 horses below this hood

ready for correction work

Pics of a severe paint damaged, probably some rescue work was done but more damaged was also inflicted at the same time


Before


Before
 After
After
before

After

Before

pics after corrected

50/50 testing area set

after

Pics taken couple months ago at Berjaya Hill climb

after corrected...this is the true red of Ferrari


after corrections
before
 After
After

a 50 / 50 pics before & after corrections

Pics before corrections

clarity after corrected
Before Head lamp Cover

After Head lamp Cover

Before Left back Quater

After Left back Quater

after
After Left door

Some after Pics Sunlights Pics

All after Pics


Prodetailing seech applying Optiseal


before

after
Remember Before after
after
this is what the after math......30 microfiber towels ...10 pads

This comment has been removed by the author.
ReplyDelete