speechlessly yours
saluting muyo works
___________________________________________________________________
Good day,
a friend of mine called me up ask me to detail his brother's car. unfortunately i heard a bad news from him, the car interior was fully flooded badly due to heavy rain at Bedok Reservoir Street @ Singapore. the only thing his brother can do is use a cup to scoop up the water and dry it with a cloth. however when he deliver the car to me after 2 weeks time when the incident happened, i still find the carpet is wet and the underneath carpet's fiber are full of dirty water (air longkang) and imagine it has been there for 2 weeks? the interior definitely have a strong odor smell which i cant tolerate.
Some news from STOMP - STOMP - Singapore Seen - Heavy rain leads to floods in eastern region of S'pore
all the way from Singapore

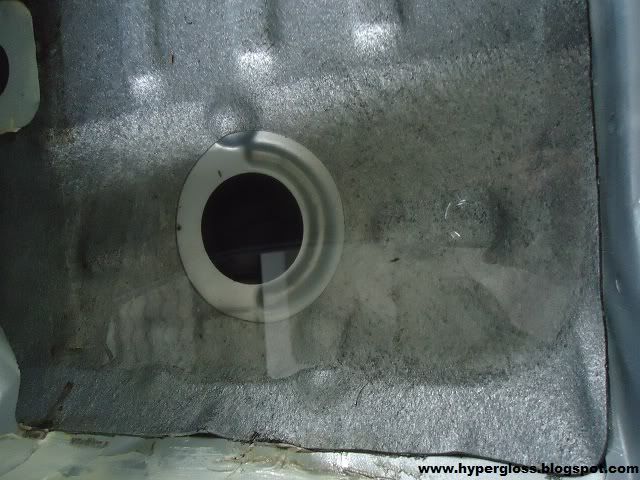
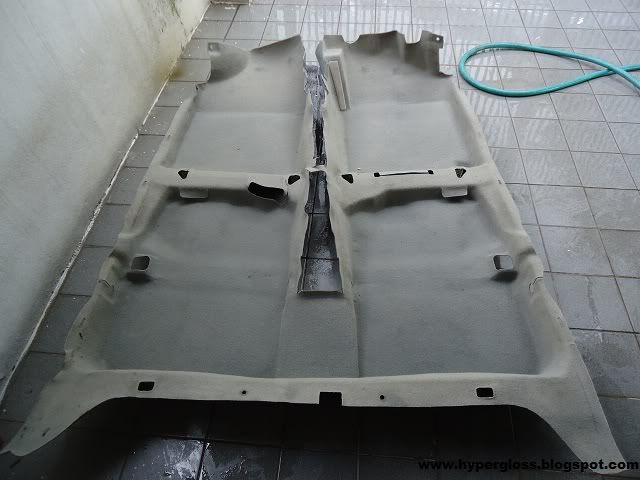
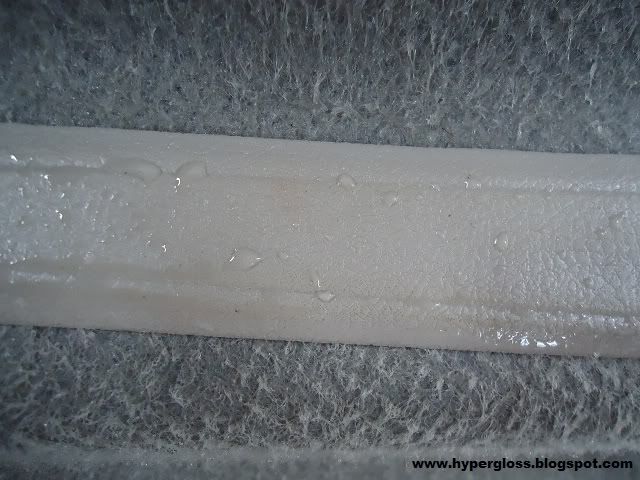
check this out, water beading comes from the carpet
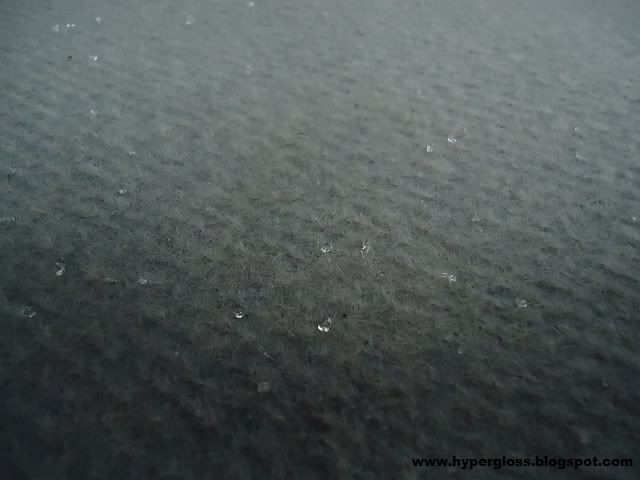
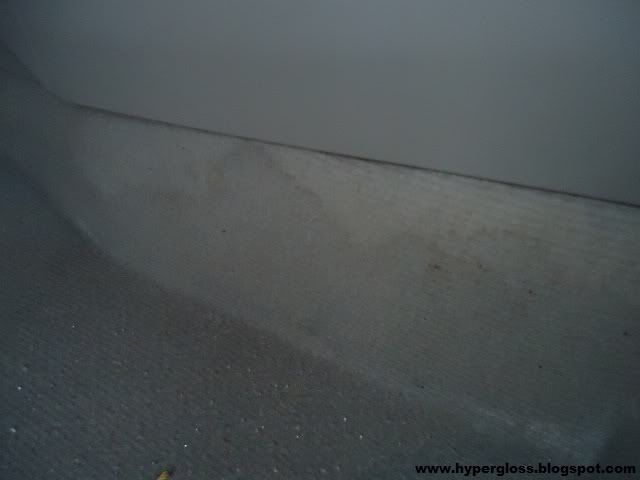
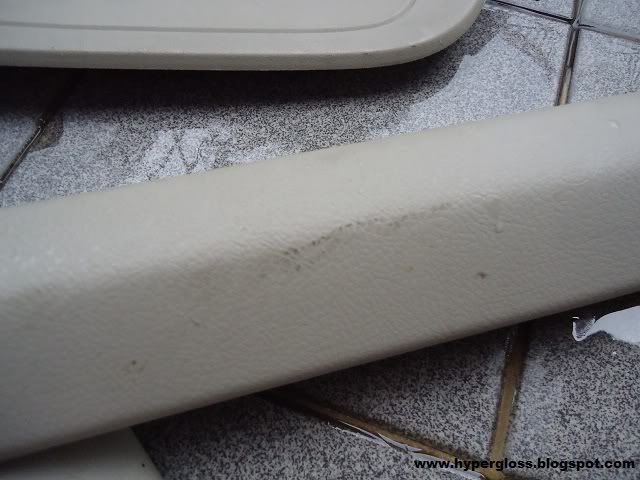
nope, its actually flooded. dirty water aka longkang stain all over the carpet
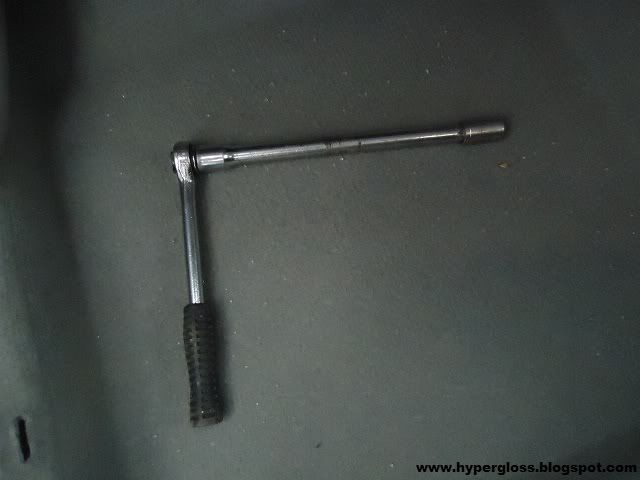
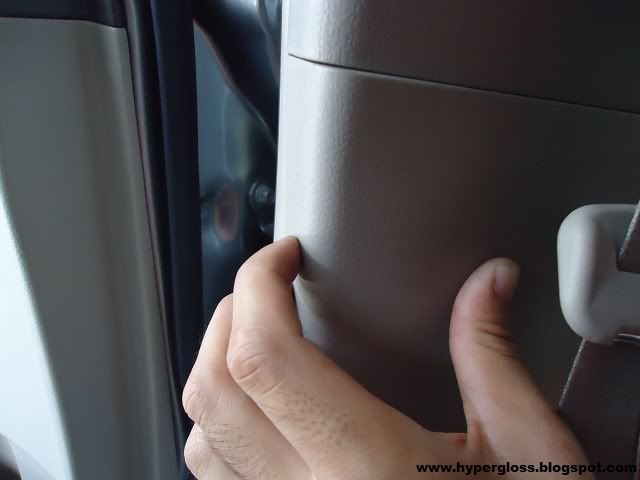
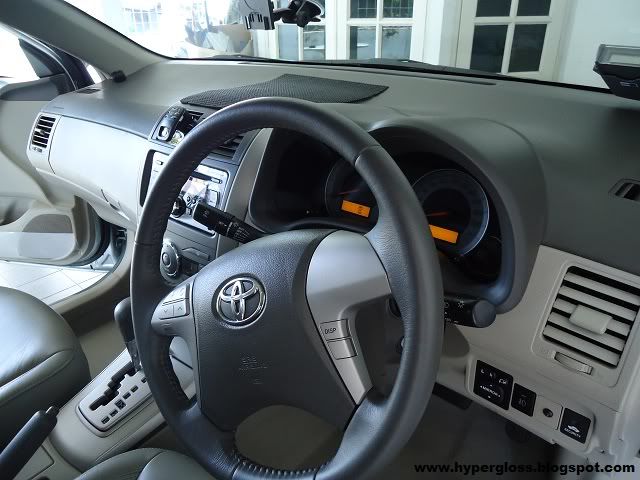
major surgery begin, using the right tools to take out the seat
tadaa!
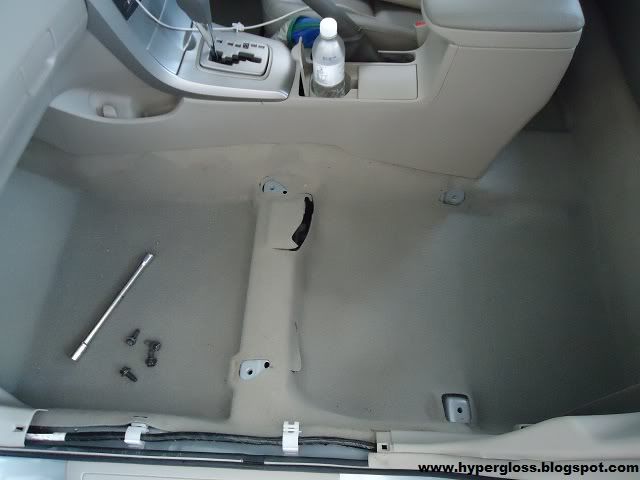
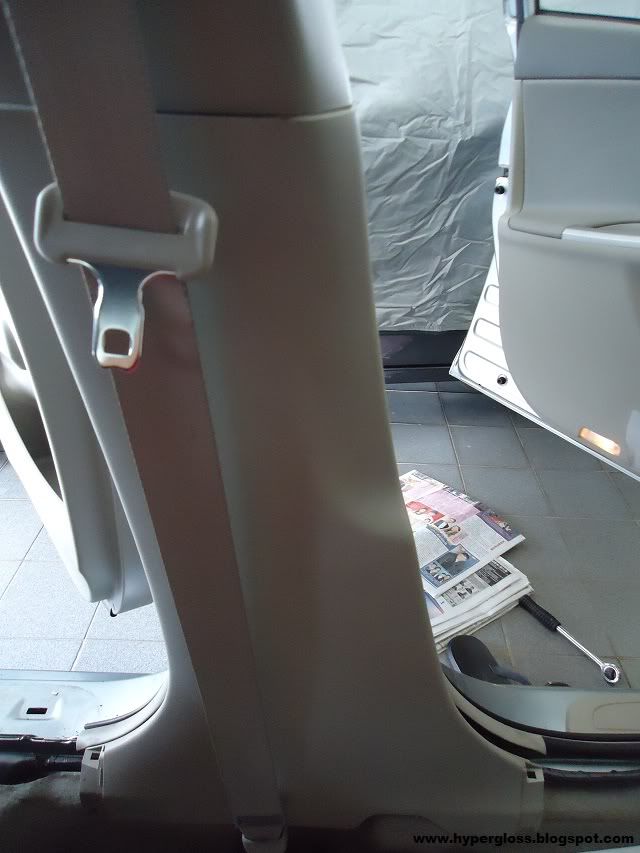
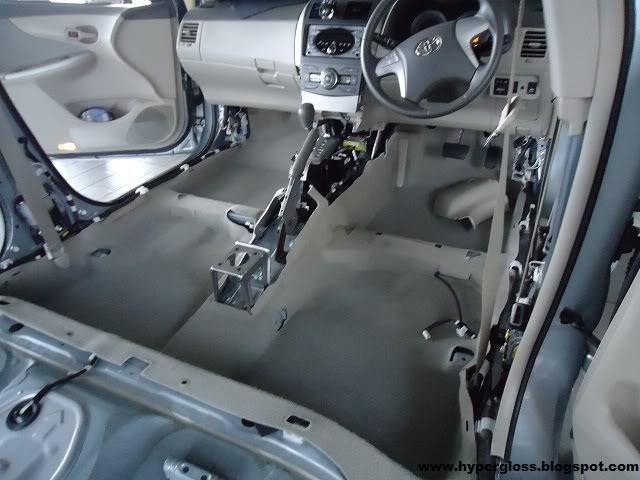
the front seats and console taken out
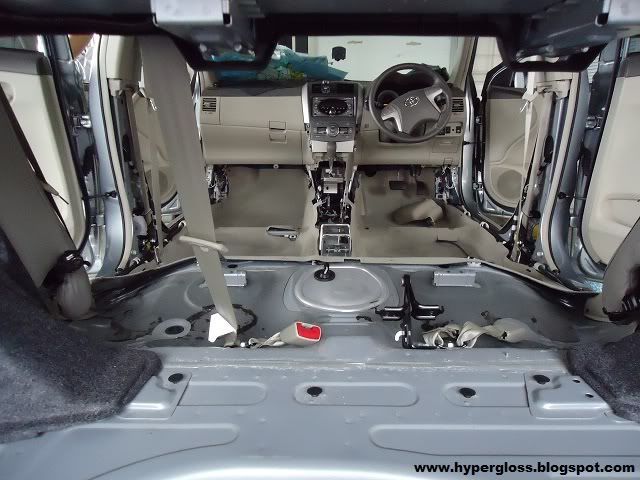
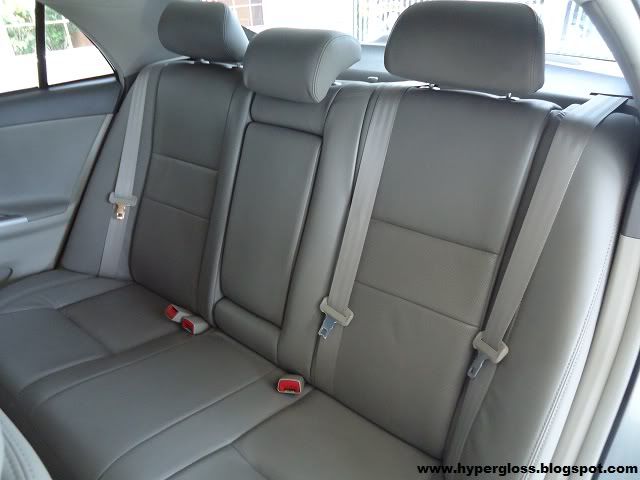
the back seats too
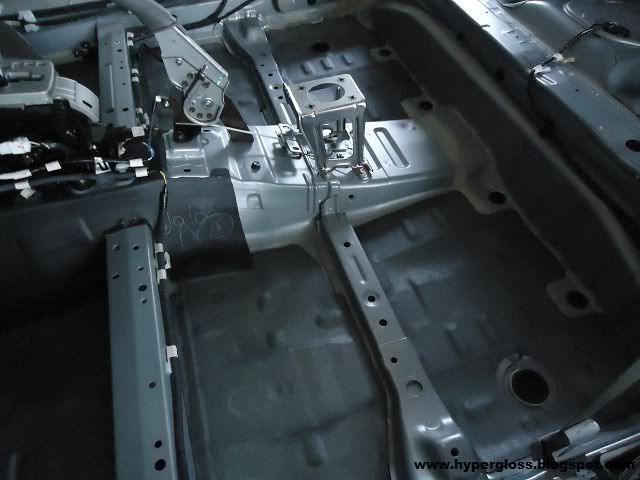
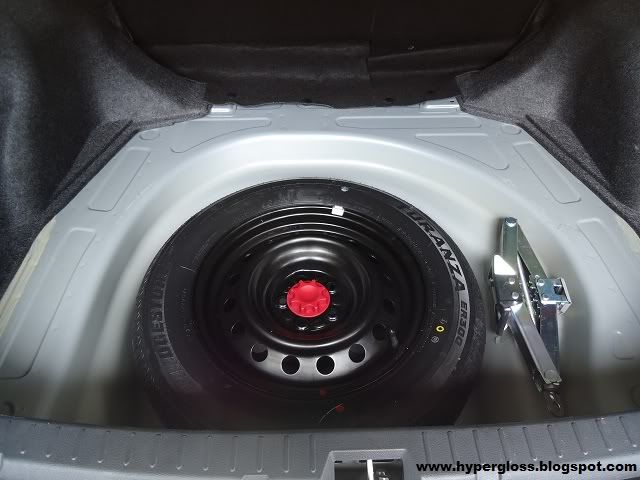
after every necessary parts been removed, its time to check out whats inside.
luckily didnt find any fish/frog inside
more
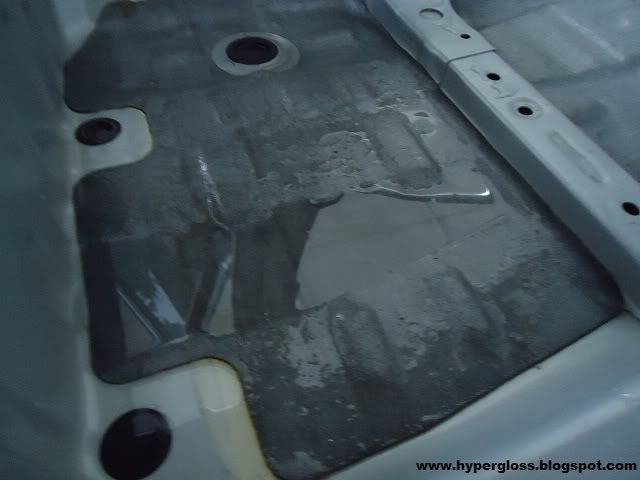
and more
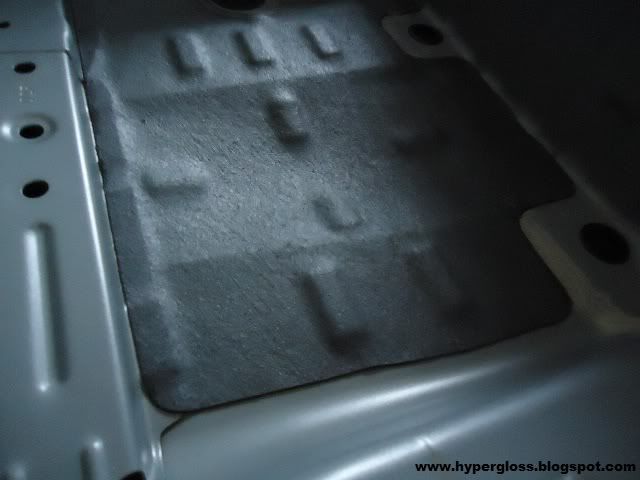
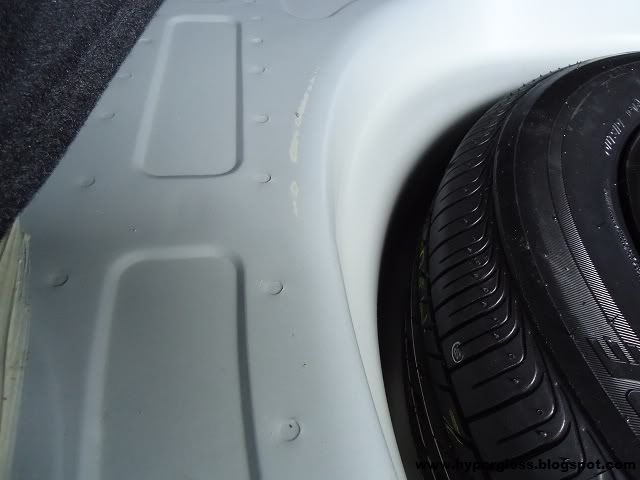
mini swimming pool?
metal rusted only in 2 weeks!

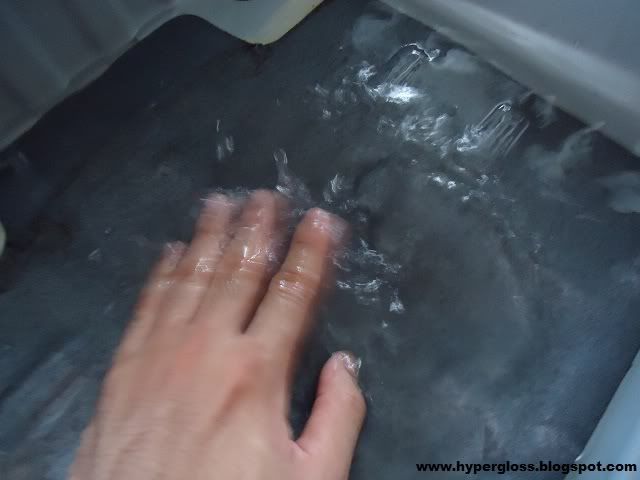
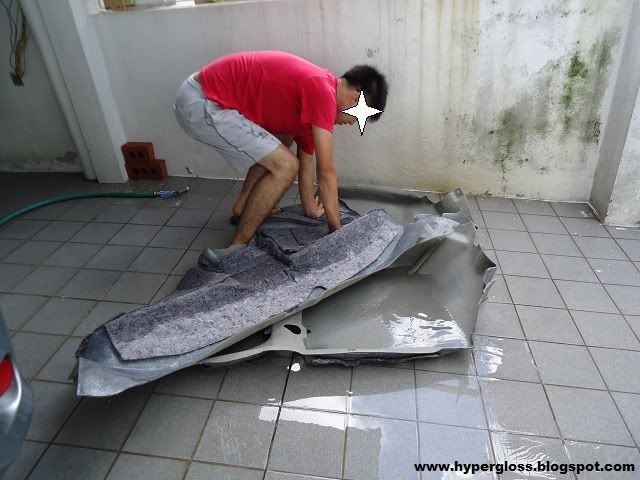
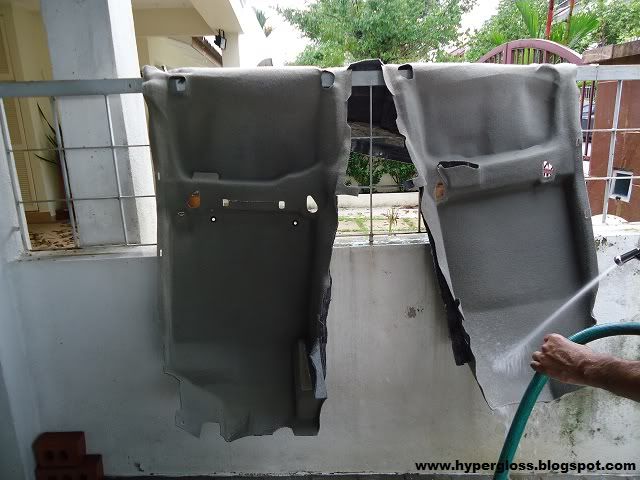
carpet take out for a wash
clean all the dirty water from the fiber
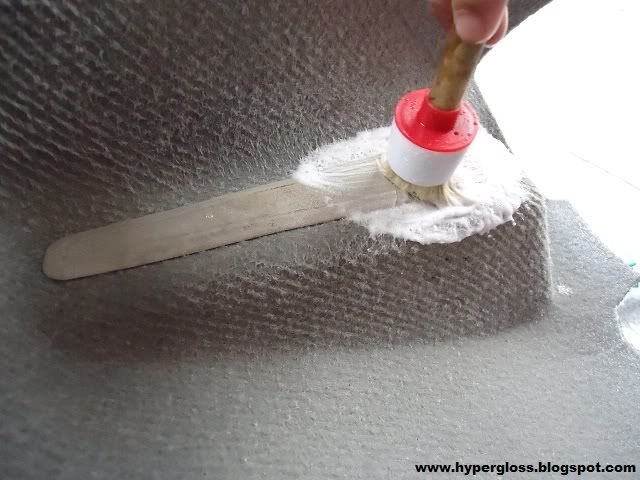
how to clean?
OPC to clean
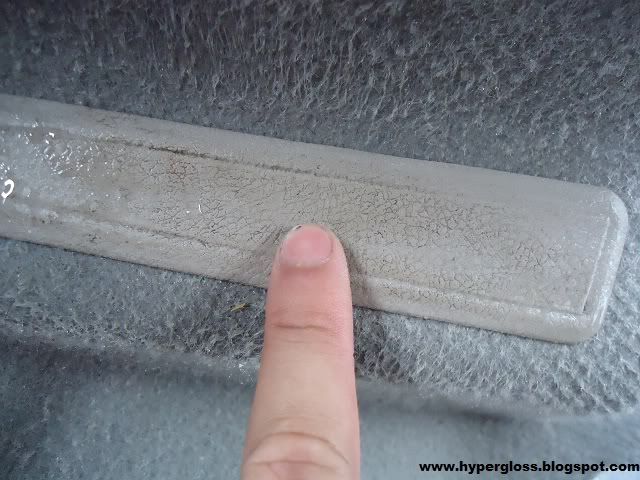
50/50
after
close up shot
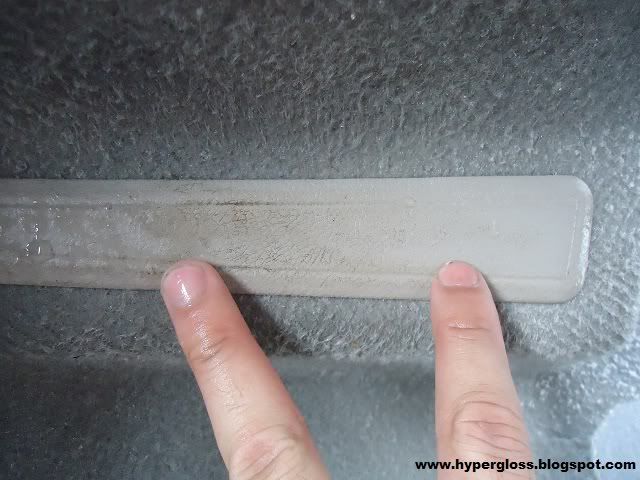
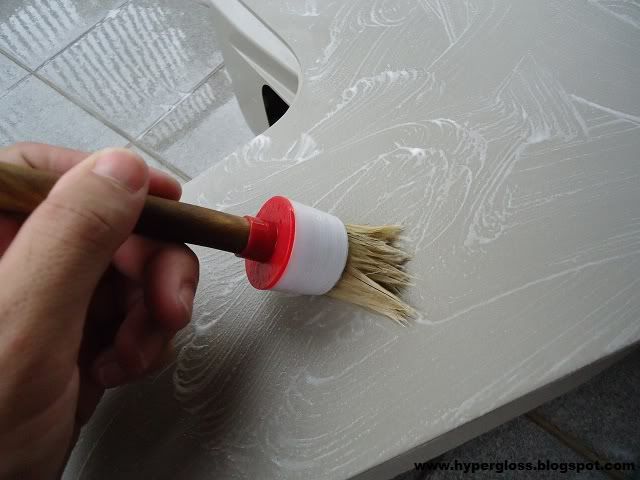
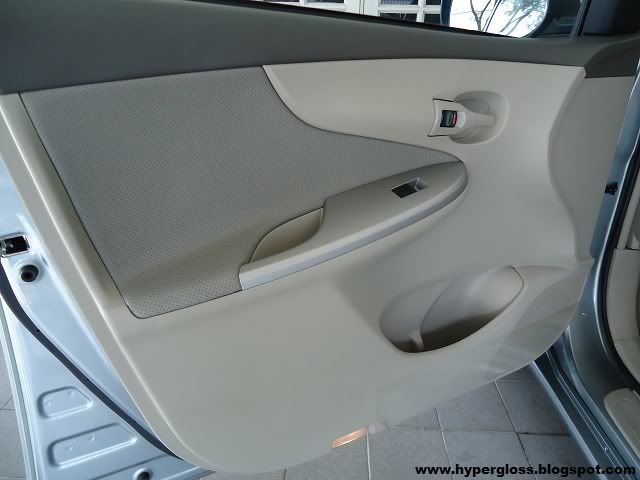
move to clean all the console/plastic part
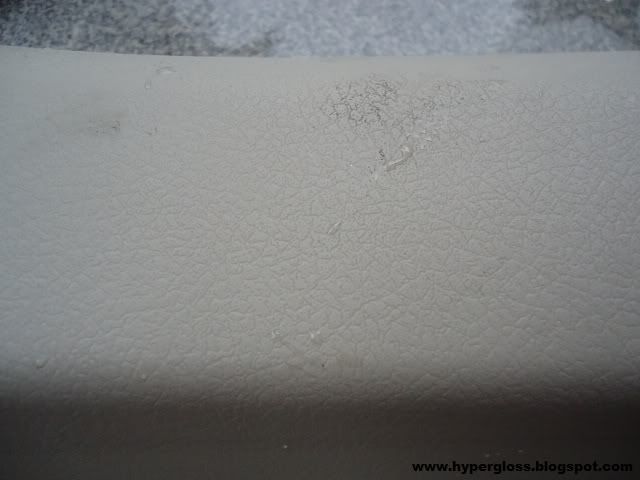
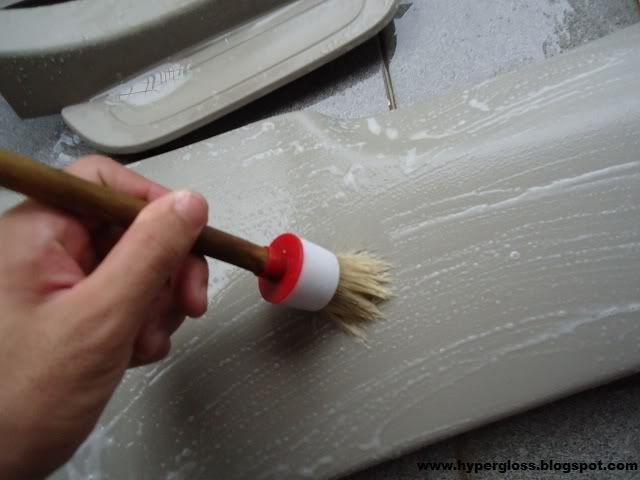
using 1 product to clean all the way, the Optimum Power Clean
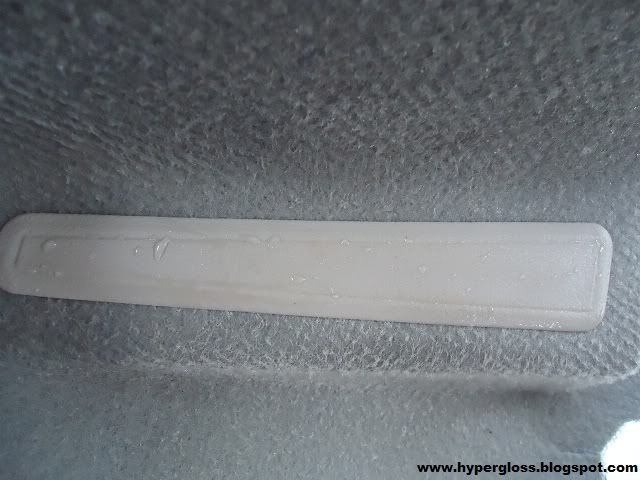
turn this
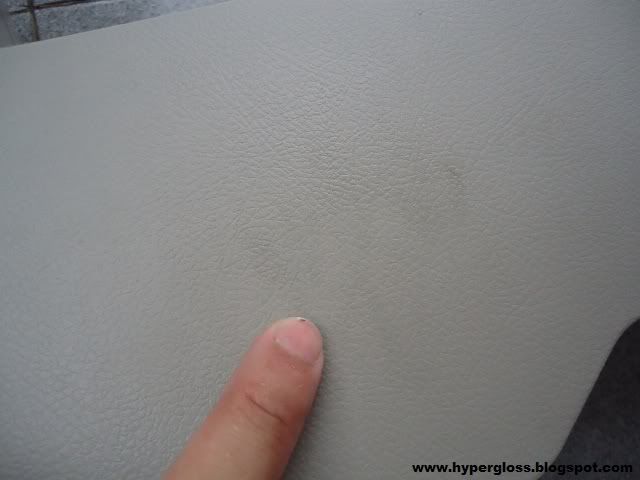
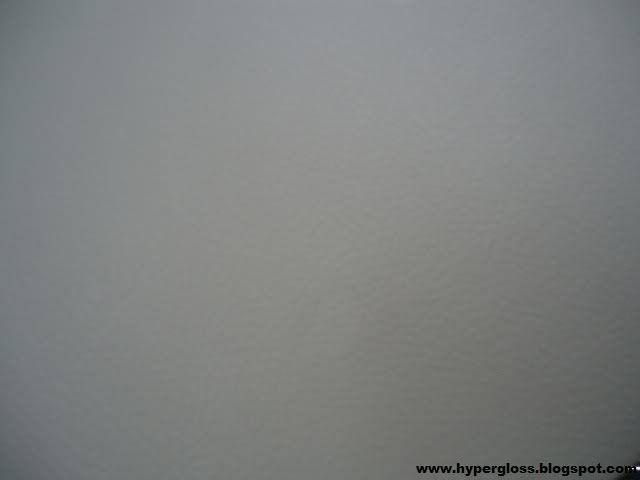
to this
how? just simply dilute OPC to suit your needs and start brushing.
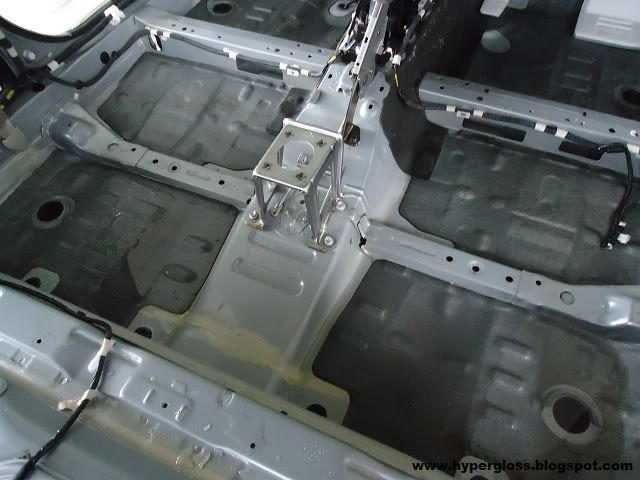
the interior metal parts are also clean and dusted

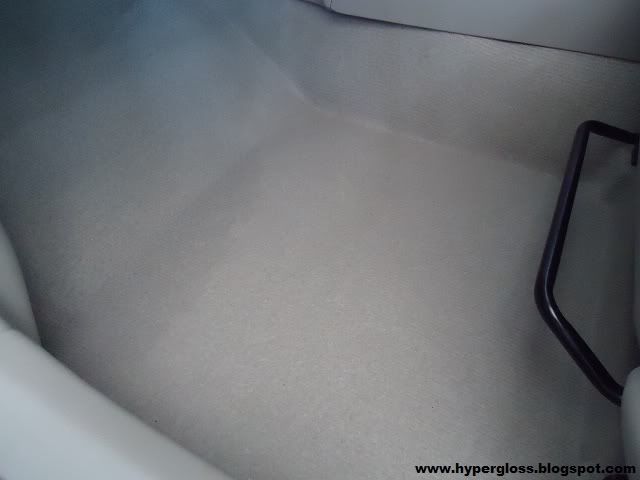
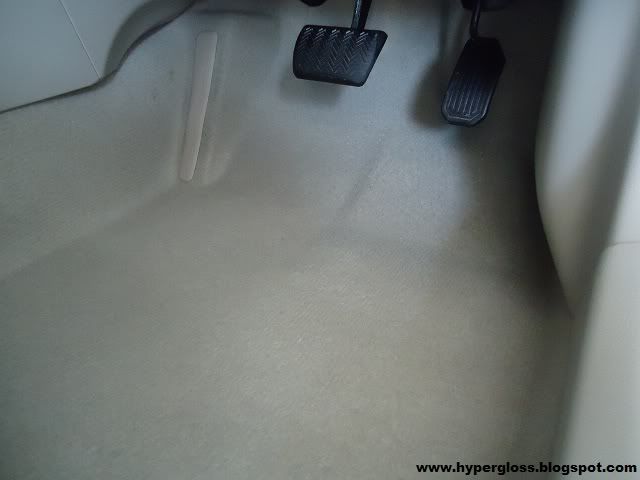
after the cleaning/drying done, its time to install every parts include the carpet.
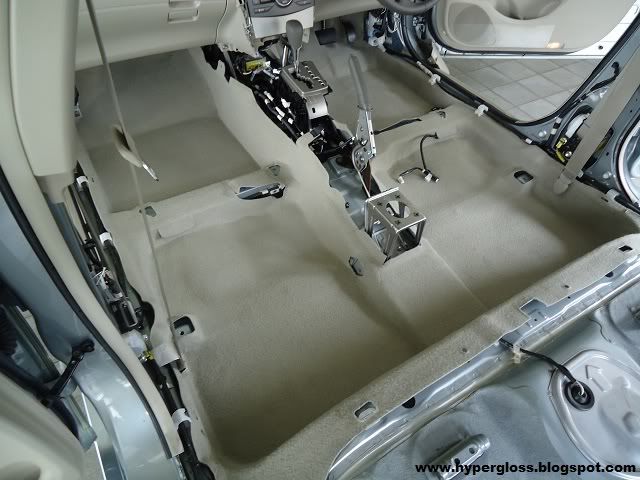
better than new?

carpet cleaning process
-rinse down
-OPC diluted 1:2
-brush gently
-rinse down
-took 1 day to dry
-used Febreze to kill odor smell
interior
-quick wipe down with Opti-Clean
-protected with Leather Protectant
4 products to finish this job, time spent 7hours w/o drying
thanks for reading.
__________________
mun,
email: hyperglossdetailing@hotmail.com
Blog: www.hypergloss.blogspot.com


